
Last updated October 16, 2026
 Wrought iron
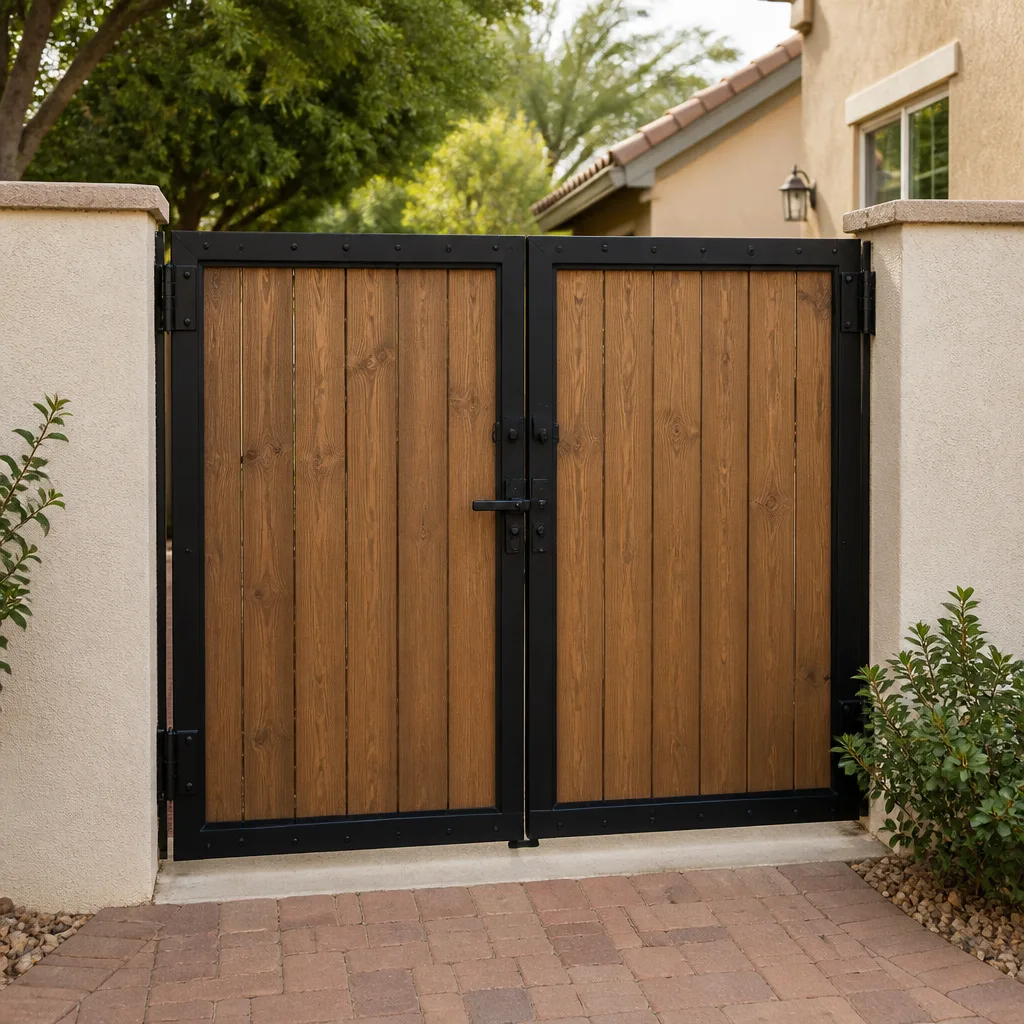 Wood & steel frame
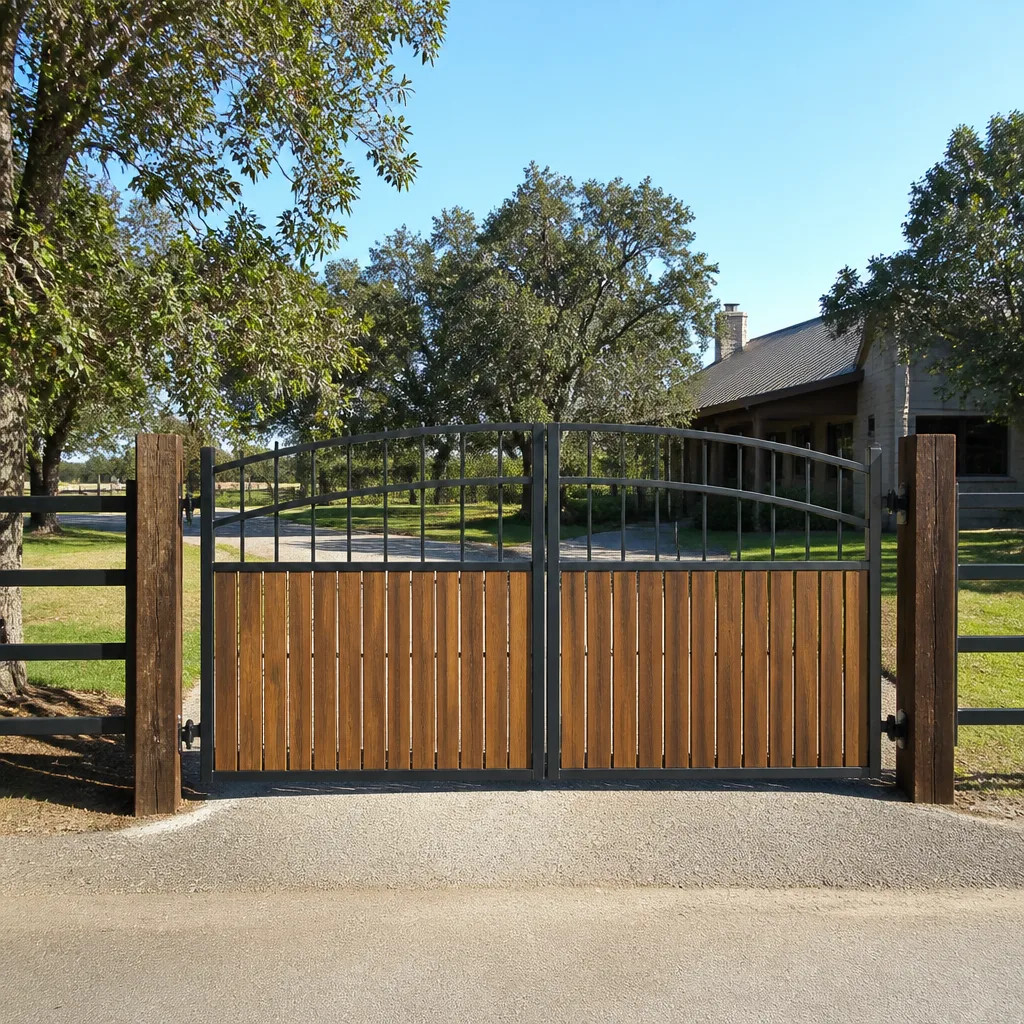 Farm & ranch
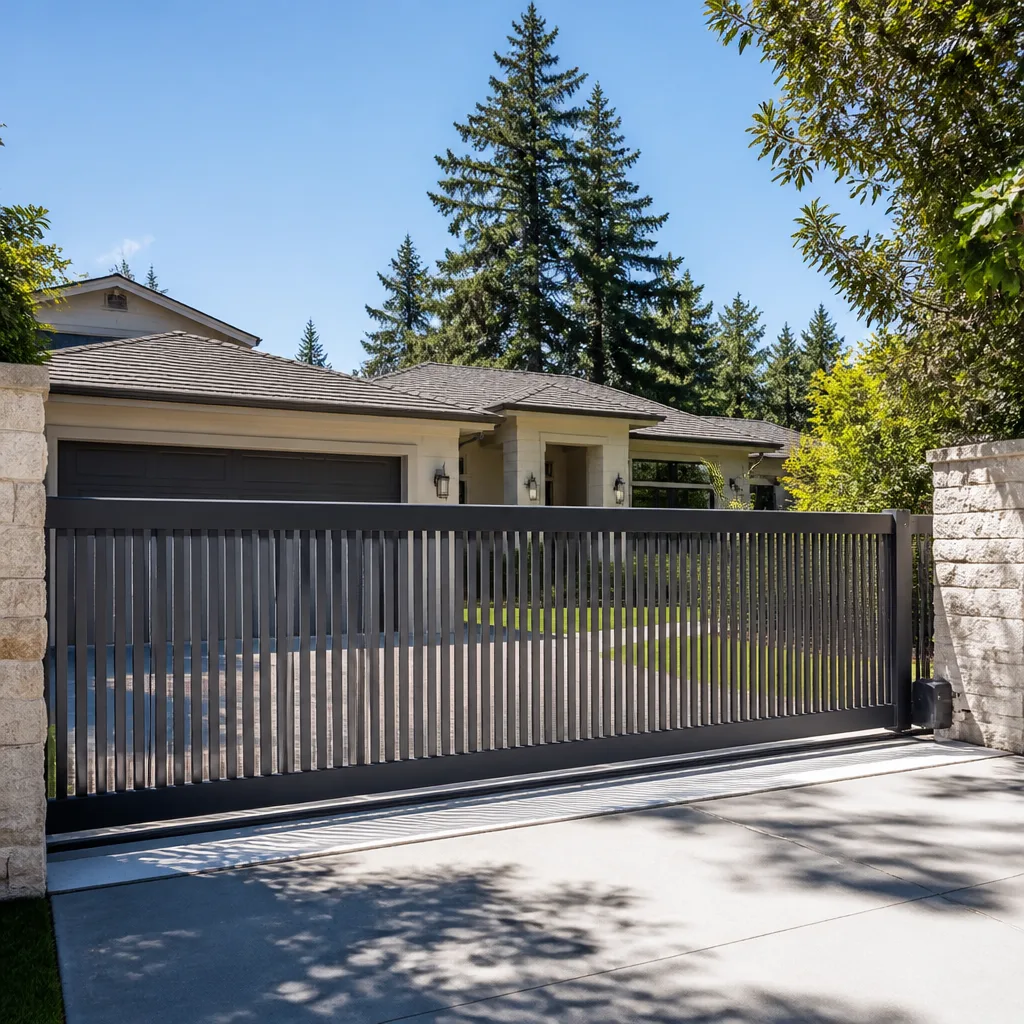 Sliding driveway gates
 LiftMaster operators
Free on-site gate assessment - hinges, posts, and your LiftMaster or Nice gate operator checked before anything is quoted
The assessment is free and the quote is the invoice.
Get your free estimateGate Repair Maintenance Checklist for San Jose Homeowners
Using WD-40 on your gate’s chain drive is one of the most common maintenance mistakes San Jose homeowners make. It feels right. It smells right. It’s what your dad did. But WD-40 is a solvent cleaner, not a chain lubricant. It strips away the heavy grease your chain needs, leaving bare metal that grinds against the sprockets with every cycle. This guide is built around the specific materials and opener brands actually installed in San Jose homes, so you know exactly which lubricant goes where, which five-minute checks actually prevent breakdowns, and which maintenance habits quietly void manufacturer warranties. By the end, you’ll have a material-matched maintenance system that keeps your gate running through San Jose’s dry summers and rainy winters.
Styles & brands we work with
Quick Answer
The most effective gate maintenance for San Jose homeowners is a monthly five-minute inspection (listen for new noises, check chain or belt tension, verify sensor alignment, clear track debris) combined with material-matched lubrication twice per year: white lithium grease on steel hinges and chains, silicone spray on nylon rollers and rubber seals, and dry PTFE lube on aluminum tracks. Avoid WD-40 on any drive component. Log your gate’s behavior monthly so intermittent problems become diagnosable patterns instead of mysteries. Most DIY-friendly tasks take under 30 minutes; electrical diagnosis, spring replacement, and opener programming should go to a trained technician.
Table of Contents
- Material-Matched Lubrication: What Goes Where
- The Five-Minute Monthly Check That Prevents 80% of Repairs
- Safety Sensor Alignment: Pass/Fail Tests That Actually Work
- How to Log Gate Behavior (and Why It Saves You Hundreds)
- Maintenance Tasks That Void Manufacturer Warranties
- San Jose Seasonal Maintenance Calendar
- Brand-Specific Maintenance Notes: LiftMaster, FAAC, BFT, and Linear
- Common Mistakes to Avoid
- When to Call a Professional
- Frequently Asked Questions
- The Bottom Line
Material-Matched Lubrication: What Goes Where
Here’s the counterintuitive truth about gate maintenance in San Jose: most gate failures aren’t caused by neglect. They’re caused by well-intentioned homeowners using the wrong product on the wrong material. We’ve repaired gates in Willow Glen, Almaden Valley, and Evergreen where the chain was practically swimming in WD-40, and the homeowner genuinely believed they were doing everything right. The fix isn’t more maintenance. It’s the right maintenance on the right component.
Your gate is a system of different materials, each with its own lubrication requirement. Here’s the map:
- Steel hinges (swing gates): White lithium grease. It’s thick, it clings, and it handles the load of a swinging steel gate without flinging off. Apply twice per year.
- Steel chains (slide gates): Heavy-duty chain lubricant or white lithium grease. Never WD-40. A chain needs a film that stays put under tension.
- Aluminum tracks (slide gates): Dry PTFE (Teflon) spray. Wet lubricants on aluminum tracks in San Jose attract the fine dust that blows in from the East Hills, creating an abrasive paste that scores the track. Dry PTFE lubricates without becoming a dust magnet.
- Nylon rollers: Silicone spray only. Petroleum-based sprays break down nylon over time, causing the rollers to crack at the bearing. We see this regularly on older Gate Repair in San Jose callouts where rollers have literally split in half.
- Rubber seals and weatherstripping: Silicone spray. It conditions the rubber so it stays flexible through San Jose’s dry summer heat instead of cracking. Apply every three months during summer.
- Screw drives (LiftMaster screw openers, common in San Jose garage and gate setups): White lithium grease applied sparingly to the screw threads. LiftMaster actually calls this out in its documentation. Too much grease becomes a magnet for debris.
Here’s the material-matched rule in one line: if it’s metal-on-metal and heavy, use white lithium grease. If it’s plastic or rubber, use silicone. If it’s aluminum and exposed to dust, use dry PTFE. If you apply nothing else from this guide, apply this rule.
The Five-Minute Monthly Check That Prevents 80% of Repairs
In our experience, roughly 80% of gate emergency calls in San Jose start as something a homeowner could have caught weeks earlier. A loose chain, a drifting sensor, a track filling with debris. None of these announce themselves loudly. They whisper. This five-minute monthly check is designed to hear the whisper before it becomes a breakdown.
- Listen first (60 seconds): Open and close the gate once. Stand next to it, not in front of it. Note the sound. A healthy gate has a consistent mechanical sound. A new grinding, squealing, or rhythmic thunking is the earliest signal that a component is wearing. If the sound changes month to month, something is developing.
- Check chain or belt tension (30 seconds): For slide gates with a chain, press down on the chain mid-span. It should deflect about half an inch. More than that and it can jump the sprocket. Less and it’s over-tight, which accelerates sprocket wear. Belt drives should be firm with minimal deflection.
- Scan the track (30 seconds): For slide gates, run your eyes down the full length of the track. Look for pebbles, leaves, or the fine gray dust that accumulates in San Jose during the dry months. Remove debris from the track channel. This is the single most common cause of erratic slide gate behavior we see in places like Berryessa and North San Jose.
- Check sensor alignment (60 seconds): Walk past one photo eye while the gate is closing. If it doesn’t reverse within two seconds, your sensors have drifted. See the full test procedure below.
- Test the manual release (60 seconds): Pull the manual release handle (usually a red cord or lever on the opener). The gate should move freely by hand. If it’s hard to move manually, something is binding and the opener motor is working harder than it should.
- Inspect the gate itself (60 seconds): Look at the hinges, wheels, and mount points. Any new rust spots? Any cracked welds? San Jose’s dry climate is kind to steel, but the marine layer that rolls in through the fall and winter brings enough moisture to start surface rust if the paint is already chipped.
Set a recurring phone reminder for the first Saturday of each month. Five minutes. If you do nothing else, do the listen-and-look pass. Most developing problems are audible before they’re visible.
Safety Sensor Alignment: Pass/Fail Tests That Actually Work
“Make sure sensors are working” is the most useless line in every generic gate maintenance checklist. What does that even mean? Here’s what it means in practice, with specific pass/fail criteria.
Your gate’s safety photo eyes are the pair of small black or gray boxes mounted on either side of the gate opening, usually four to six inches off the ground. They send an invisible beam across the opening. If anything breaks the beam, the gate must stop and reverse. This is a safety system, not a convenience feature. It prevents the gate from closing on a car, a child, or a delivery person.
Test 1: The walk-through test. Open the gate fully. Close the gate. While it’s closing, walk through the opening at a normal pace. The gate must stop and reverse within two seconds. If it hesitates, slows, or touches you before reversing, that’s a fail.
Test 2: The low-object test. Place a small box or a rolled towel about 12 inches high directly in the path of the photo eye beam. Close the gate. The gate must stop before touching the object. If it crushes the box, the beam height is wrong or the sensors are out of alignment. A gate that misses a 12-inch object will miss a small dog or a child on a low tricycle.
Test 3: The indicator light check. Most San Jose gate openers have an LED on each photo eye. With the beam aligned, the lights are steady. One blinking light, or one light out, means misalignment or a wiring problem.
Common causes of failing tests in San Jose: Ground shift during the dry season. The clay-heavy soil in parts of East San Jose expands and contracts with moisture changes, and photo eye posts can drift by fractions of an inch over a summer. Direct sunlight hitting the receiver eye can also overwhelm it, which is why afternoon sun on west-facing gates in Cambrian and Campbell causes intermittent failures. Realignment takes minutes but it’s a two-person job: one person gently adjusts the sensor, the other watches the LED.
If your sensors fail the walk-through test after realignment, it’s usually a failing receiver or a pinched wire. Both are Gate Opener Repair in San Jose issues that a trained technician can diagnose in one visit.
How to Log Gate Behavior (and Why It Saves You Hundreds)
Here’s a scenario we’ve seen dozens of times at Calder Gate Repair San Jose home calls across the city. A homeowner calls and says: “The gate stops halfway sometimes. Not every time. Maybe once a week. It just stops and then it works again after 20 minutes.” By the time our technician arrives, the gate works perfectly. The intermittent problem doesn’t reproduce.
If that homeowner had logged the behavior for a month, we’d know: does it happen at the same time of day (heat-related)? Does it happen after rain (moisture in a limit switch)? Does it happen when the neighbor’s irrigation runs (water in the conduit)? A simple behavior log turns a mystery into a pattern.
Here’s the log system we recommend. A notes app on your phone is perfect.
- Date and time – time of day matters for heat and sun-related issues.
- What the gate did – stopped halfway, reversed for no reason, wouldn’t open, made a new noise.
- What you were doing – using the remote, the keypad, the intercom, the app.
- How long it lasted – recovered on its own in five minutes, needed a manual release, needed a power cycle.
- Weather conditions – San Jose mornings are cool, afternoons are hot, and the delta breeze changes everything. Note it.
- Any recent work – landscaping, irrigation changes, nearby construction, anything that could have disturbed wiring or ground.
A month of this data is worth more than a service call with no history. When a technician sees “stops halfway, always between 2 and 4 PM, always on days above 85 degrees, recovers on its own in 20 minutes,” the diagnosis is fast: a thermal overload in the opener, likely a failing capacitor. That’s a one-part repair instead of a mystery hunt billed by the hour. The log pays for itself.
Maintenance Tasks That Void Manufacturer Warranties
Most San Jose homeowners don’t read the fine print in their opener manual. The fine print says this: perform certain maintenance tasks incorrectly, and the manufacturer can deny your warranty claim. Not because the task was unrelated. Because the task itself, done wrong, is considered misuse.
Here are the specific warranty-voiding mistakes we’ve seen called out in manufacturer documentation for the brands common in San Jose homes:
- Using the wrong lubricant on a screw drive. LiftMaster’s documentation specifically warns against using certain sprays on screw drive openers. Grease attracts debris; debris scores the screw; a scored screw gets denied on warranty claims because it’s “inadequate maintenance.” Get the product right, and you’re covered.
- Replacing a chain with a generic non-brand part. FAAC and BFT both specify replacement parts by part number in their warranty terms. A generic chain that fits but runs at the wrong tension or pitch voids coverage even if the chain had nothing to do with the eventual failure.
- Modifying the photo eye wiring. We’ve seen homeowners splice sensor wires to “fix” an intermittent sensor alarm. That counts as a modification under most warranties. The moment you cut into factory wiring, the warranty on the entire opener logic board can be voided.
- Adjusting the force or limit settings without following the calibration procedure. Linear’s documentation requires the force settings be calibrated to the specific gate weight. Over-force settings cause crash damage that manufacturers won’t cover. Your gate closing like a battering ram is not “working well,” it’s a warranty problem waiting to happen.
- Using a pressure washer on the gate or opener housing. Water ingress into the electronics, motor, or gearbox from pressure washing is explicitly excluded by most brands. High-pressure spray forces water past seals that are designed to handle rain, not a pressure washer at close range.
The rule: if a task involves wiring, calibration settings, or replacing a load-bearing part, check the manufacturer’s documentation first or hand it to someone who knows the brand. The cost of a professional visit is less than a denied warranty claim on a $400 control board.
San Jose Seasonal Maintenance Calendar
San Jose’s climate is a Mediterranean cycle: rainy winters, dry summers, and a marine layer that rolls through the foothills in the fall. Your gate responds to each transition. Here’s the season-by-season calendar we recommend for San Jose homeowners, with climate-specific reasoning.
October-November (pre-rain season): This is the most important maintenance window in San Jose. Before the first real rains, remove debris from the track and the base of the gate posts. Rain washes leaves and grit into track channels, and once wet debris packs in, it’s stubborn. Apply silicone to all rubber seals. Check the drainage around the gate. Standing water in the low spots of a slide gate track accelerates rust through the winter months.
December-February (rainy season): Check for water in the opener housing after each significant storm. The gasket on older openers in neighborhoods like Rose Garden and Naglee Park dries out and lets moisture in. If you see condensation inside the housing or the gate behaves erratically after rain, that’s a Electric Gate Repair in San Jose warning sign, not a transient problem. Let it dry and it may come back fine, but the water will do cumulative damage to the control board.
March-May (spring): This is when weeds and grass grow. The tufts along the bottom of a slide gate can interfere with the photo eye beam or the safety edge. Trim back to bare ground along the gate’s full travel path. Check the gate’s alignment. Spring growth pushes fences and posts slightly, and a gate that rubbed all summer is a gate that wears out its rollers.
June-September (dry season): San Jose’s inland heat pulls moisture from rubber and plastic. Inspect rubber seals for cracking and condition them with silicone every 90 days. Watch for heat-related opener behavior: a gate that stops and recovers only on hot afternoons is showing thermal overload symptoms. Log it. Lube metal-on-metal contact points with white lithium in June, then a light touch-up in August if the gate gets heavy daily use.
Brand-Specific Maintenance Notes: LiftMaster, FAAC, BFT, and Linear
Different opener brands have different maintenance personalities. Here’s what we’ve learned about four of the nine brands our technicians work on regularly, including the specific failure patterns that show up in San Jose homes.
LiftMaster: The most common opener brand in San Jose residential gates, especially in newer communities like Silver Creek and the Northside. The screw drive models run quietly, but the screw needs a specific lubricant, not whatever’s in the garage. LiftMaster’s logic boards are sensitive to moisture, so the housing gasket is your first line of defense. If your LiftMaster gate opener’s light blinks a specific pattern, count the blinks and note them; those patterns are diagnostic codes that tell a technician exactly what failed. Most LiftMaster gate opener repairs are gear drive or capacitor replacements, both straightforward for a trained tech.
FAAC: Strong and reliable on heavy custom swing gates, common in Almaden Valley and the hillside properties on the east side. FAAC openers are hydraulic, which means they handle weight well but need the hydraulic fluid level checked periodically. Low fluid causes sluggish operation, especially in cold weather. The fluid check on a FAAC is simple to do yourself; the fluid replacement is not. If the fluid looks milky, there’s water in the system, which needs professional attention.
BFT: Common on condominium and HOA gates across San Jose. BFT automation is robust but its accessories, especially the keypads and photocells, are sensitive to UV exposure. San Jose’s sunny climate fades keypad membranes and degrades photo eye lenses over time. Inspect them during your monthly check. A cloudy photo eye lens can trigger false obstruction alarms long before the eye itself fails.
Linear: A workhorse brand popular on pedestrian gates and lighter-duty driveway gates throughout the South Bay. Linear operators are simple, which makes them durable. The maintenance weak point is the belt drive on older units; belts stretch over time and need tensioning. A loose Linear belt slaps against the housing, which sounds alarming but is usually a 30-minute tension adjustment. Linear force settings need to be calibrated to the gate’s actual weight, so don’t max out the force dial to “fix” a gate that’s struggling.
Common Mistakes to Avoid
- Spraying WD-40 on the chain. WD-40 is a cleaner, not a chain lubricant. It strips the heavy grease your chain needs and leaves bare metal that grinds against the sprockets. Replace it with white lithium grease or a proper chain lube.
- Using penetrating oil on nylon rollers. Petroleum-based sprays degrade nylon. Rollers that look fine on the outside can be cracked on the inside at the bearing. Use silicone spray only on nylon parts.
- Greasing the aluminum track. Wet lubricant on an exposed aluminum track in San Jose attracts dust and becomes an abrasive paste that scores the track. Dry PTFE is the only thing that belongs on the track.
- Ignoring a noise because “it still works.” By the time a sound becomes a stop, the part has worn past the point of cheap repair. A six-week-old squeal is a $20 roller replacement; a six-month-old squeal that turned into a grind is often a $300 track repair.
- Cranking up the force settings when the gate is struggling. Over-force settings mask the underlying problem (binding, a failing capacitor, a stiff roller) and convert a slow failure into a sudden one. Plus, excessive closing force is a safety hazard for children and pets.
- Powering through a manual gate after the opener is disconnected without checking for binding. If the gate is suddenly hard to push, something has changed. Don’t force it. The resistance is a diagnostic signal, not an inconvenience.
- Skipping the photo eye test because “we don’t have kids or pets.” The neighbor’s kid, the Amazon driver, a visiting grandparent; the safety system protects everyone who comes near your gate, not just your household. Test it monthly.
When to Call a Professional
Some maintenance tasks cross the line from homeowner territory into professional territory. The line is usually safety and diagnostics. If the gate jerks, jolts, or slams, the force settings or a mechanical component have failed. If you smell an electrical smell near the opener, turn off the breaker and call someone. If your gate opener runs but the gate doesn’t move, the gear drive or coupling has failed and further running will only cause more damage. If the photo eyes continue to fail after realignment, the receiver or wiring is failing. And if anything involves the tension spring on a gate, do not touch it yourself. Gate springs are loaded with enough force to cause serious injury. Calder Gate Repair San Jose offers free estimates in San Jose. Call (669) 666-6859 and we’ll send a background-checked, uniformed technician with a live, trackable arrival time. The written price you get is the price you pay, before any work starts.
Frequently Asked Questions
Most gate opener repairs in San Jose run between $180 and $340 before parts, depending on the specific failure and the opener brand. Common parts replacements like capacitors, gear drives, and photo eyes typically add $40 to $160. The price you’re quoted is written and agreed before any work starts; the invoice matches the quote. Call (669) 666-6859 for an exact figure on your specific gate.
A complete gate maintenance checklist includes monthly checks of sensor alignment, chain or belt tension, track cleanliness, unusual noises, and manual release function, plus twice-yearly material-matched lubrication. What most checklists miss is the material-matched piece: white lithium on steel, silicone on nylon and rubber, dry PTFE on aluminum. Use the wrong product and you’re accelerating wear, not preventing it.
For gate failure emergencies like a gate stuck open or a safety system failure, we can often dispatch a technician the same day. Our dispatch works through the Gate Repair in San Jose team with live, trackable arrival times. You’ll see who’s coming and when, not a vague four-hour window. Call (669) 666-6859 and a live person will answer, any hour.
Twice per year for steel-on-steel contact points like hinges and chains, with a light touch-up mid-summer for gates that run many cycles per day. Rubber seals need silicone conditioning every three months during San Jose’s dry season. If your gate gets more than 15 cycles per day, shift to quarterly lubrication for the heavy metal contact points.
We’re factory-familiar with nine major gate opener brands including LiftMaster, FAAC, BFT, Linear, Viking, Ghost Controls, DoorKing, Elite, and Mighty Mule. That covers virtually every automatic gate opener a San Jose homeowner is likely to have. Our technicians are trained on each brand’s specific failure patterns and calibration procedures, so you’re not a training exercise for someone learning your opener for the first time.
Yes, estimates in San Jose are free. A background-checked, uniformed technician arrives at a live, trackable time, assesses the gate, and gives you a written price before any work starts. The Gate Opener Repair in San Jose team backs every job with the 365-Day Done Right Promise; if the repair fails within 365 days, we return at no charge.
Basic maintenance like lubrication, track cleaning, and monthly inspections won’t void your warranty if you use the right products and don’t modify anything. Using the wrong lubricant on a screw drive, splicing sensor wires, replacing parts with non-brand generic components, or adjusting force settings without proper calibration can all void manufacturer coverage. When in doubt, check the manual’s maintenance section before you apply anything.
The Bottom Line
A gate that never breaks is a gate that never had to. The difference between a gate that runs for 15 years and one that needs a $600 repair every other year is usually not luck. It’s material-matched lubrication, a consistent five-minute monthly check, attention to safety sensor alignment, and a simple behavior log that turns intermittent mysteries into diagnosable patterns. San Jose’s dry summers and wet winters stress gates in specific, predictable ways. The maintenance calendar above is built around that climate, not around a generic national average. If your gate is showing signs of trouble, don’t wait for the breakdown. A scheduled repair is always cheaper than an emergency. Calder Gate Repair San Jose is one call away at (669) 666-6859, with a live person on the line 24/7 and a written price before any work starts.
Written by Nico Alvarez, Owner at Calder Gate Repair San Jose, serving San Jose since 2009.
See the difference
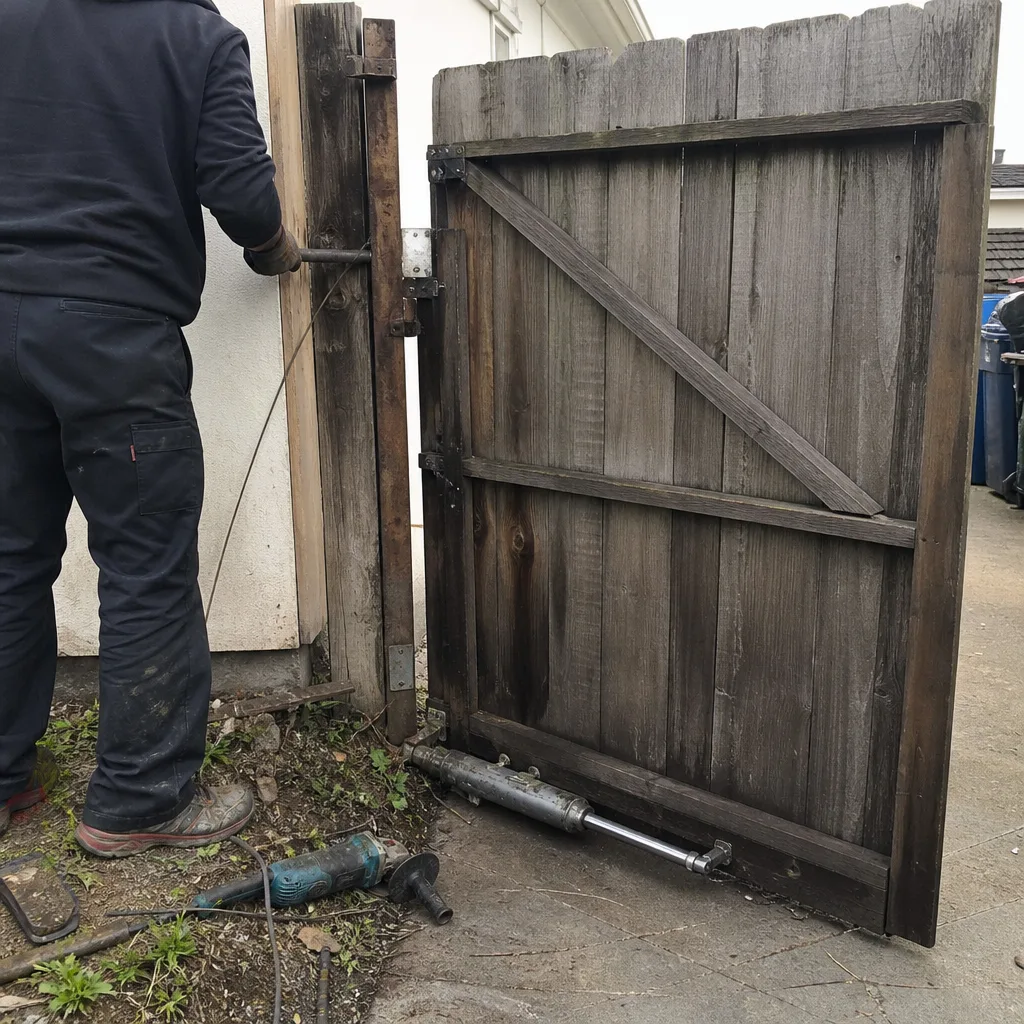 Before
 After
After Before
 After
After Before
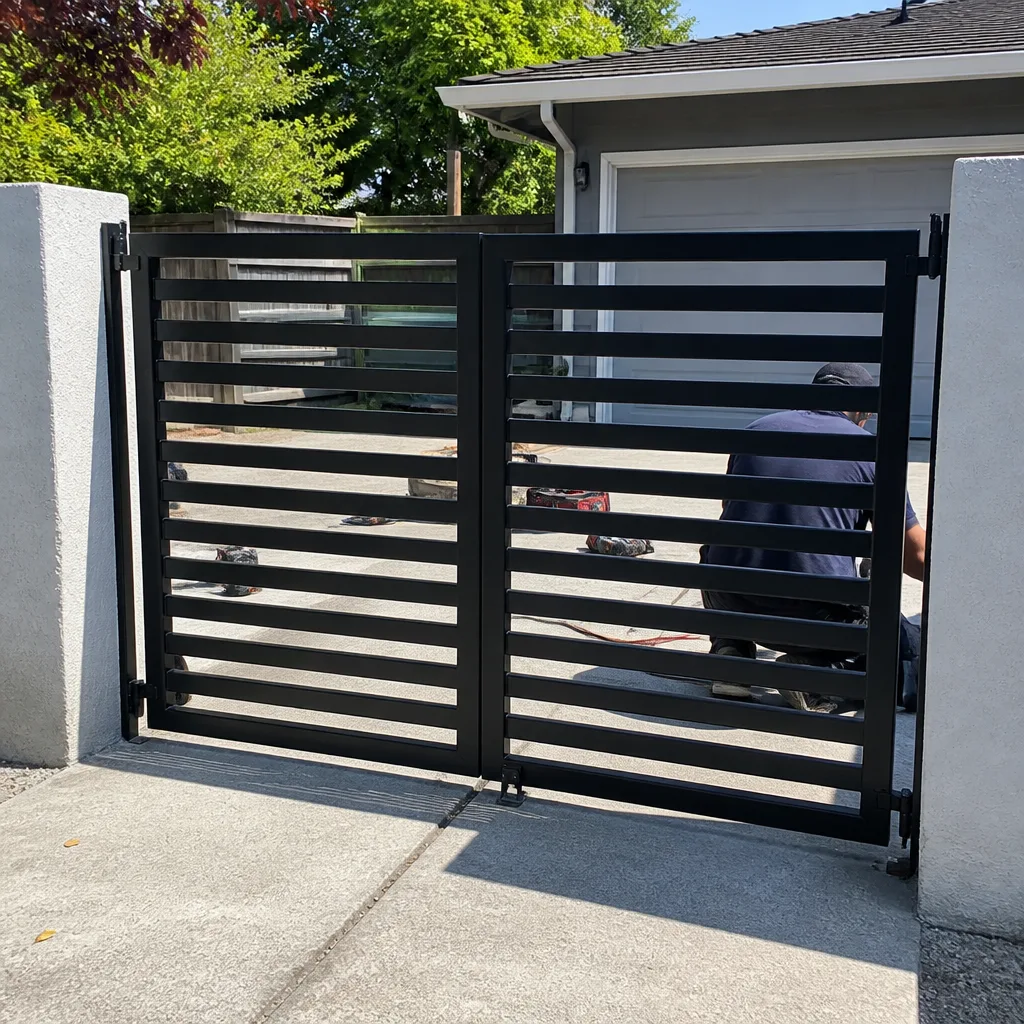 After
After