
Last updated October 16, 2026
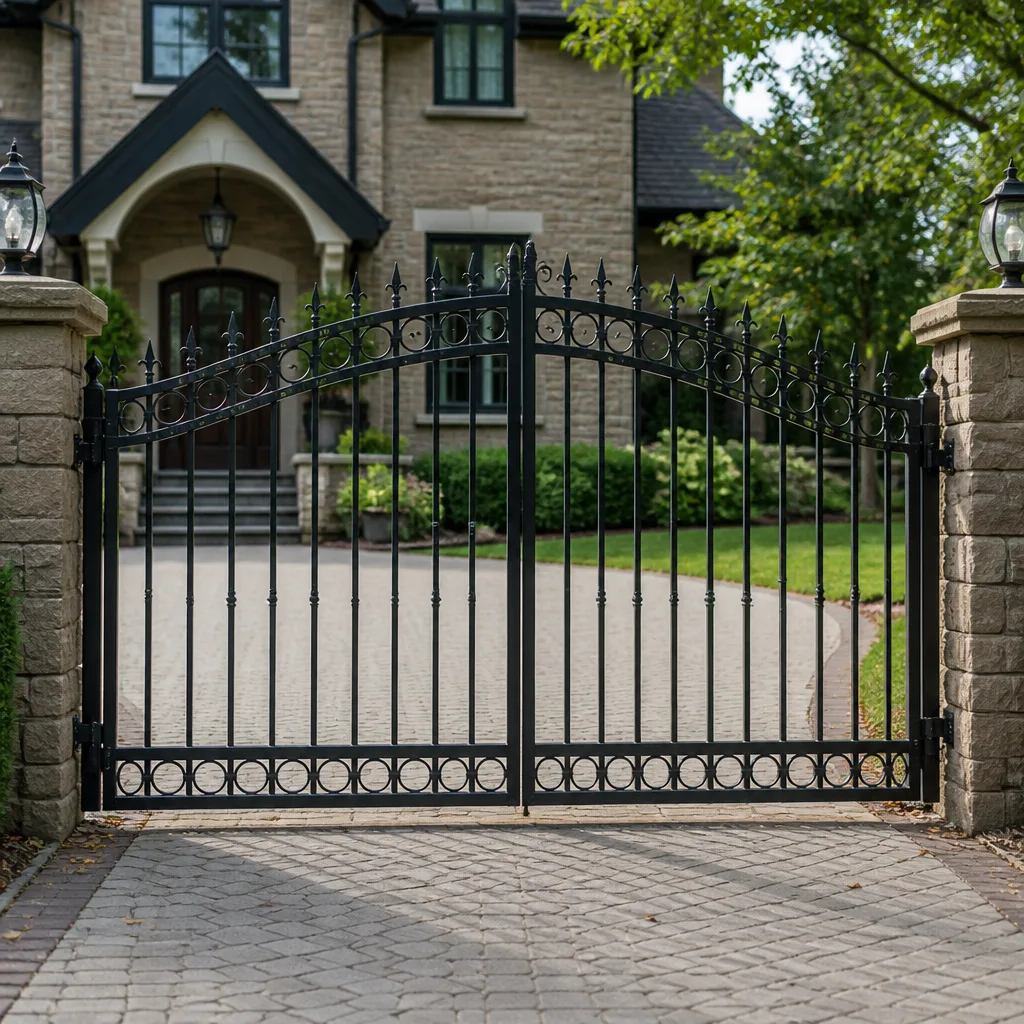 Wrought iron
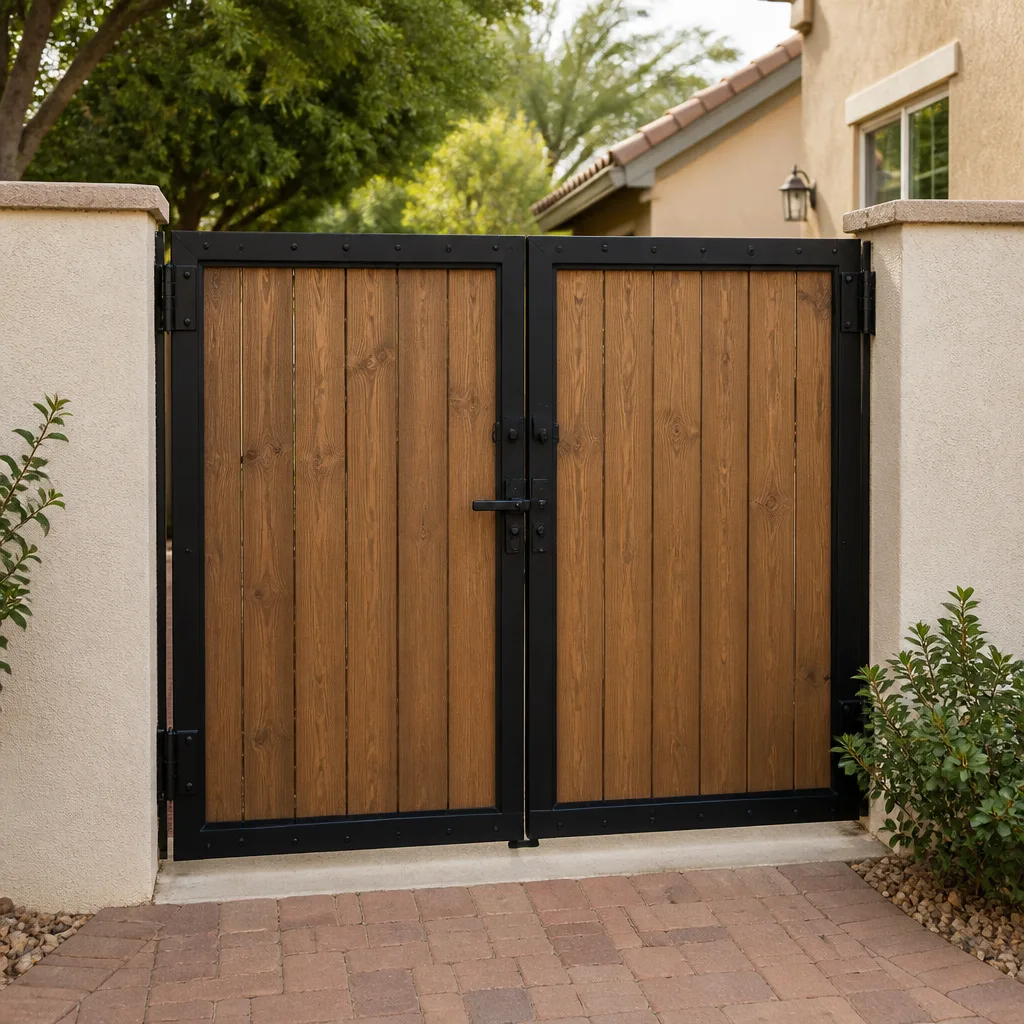 Wood & steel frame
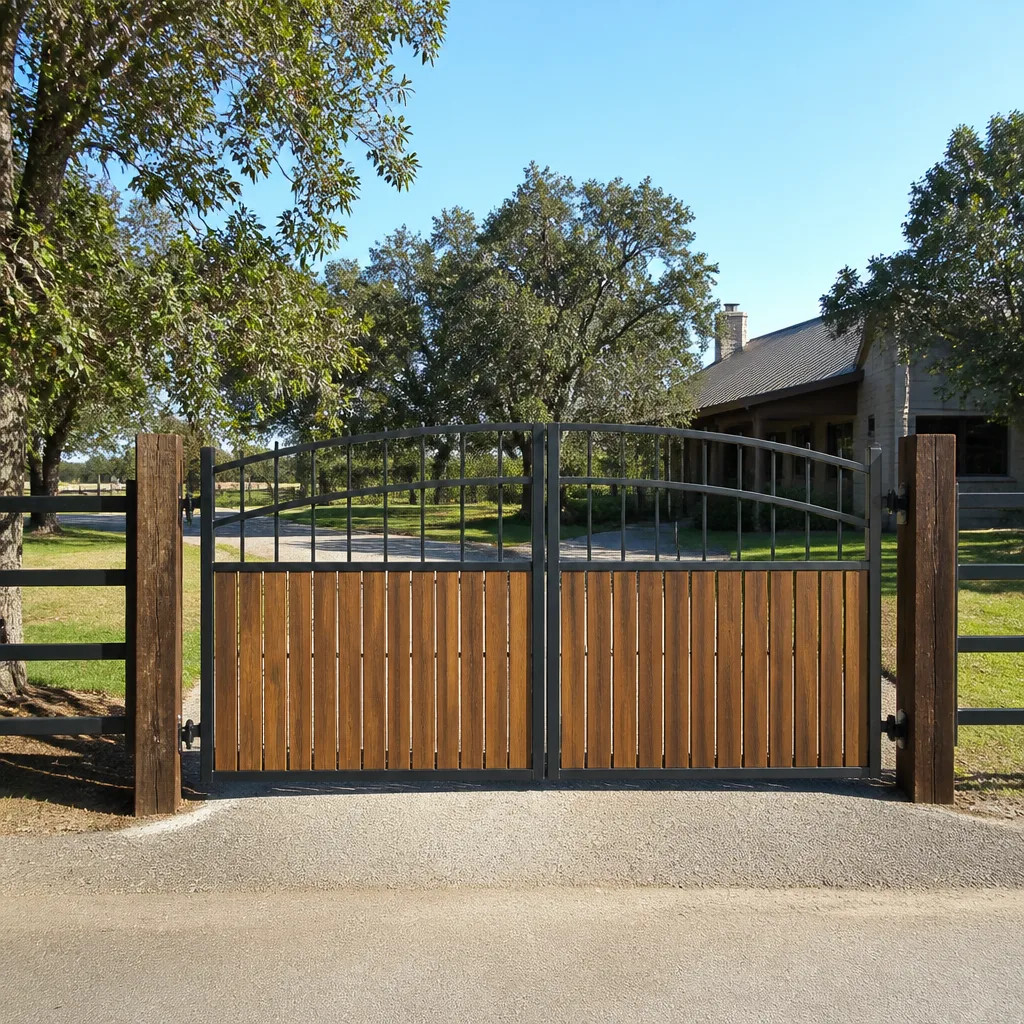 Farm & ranch
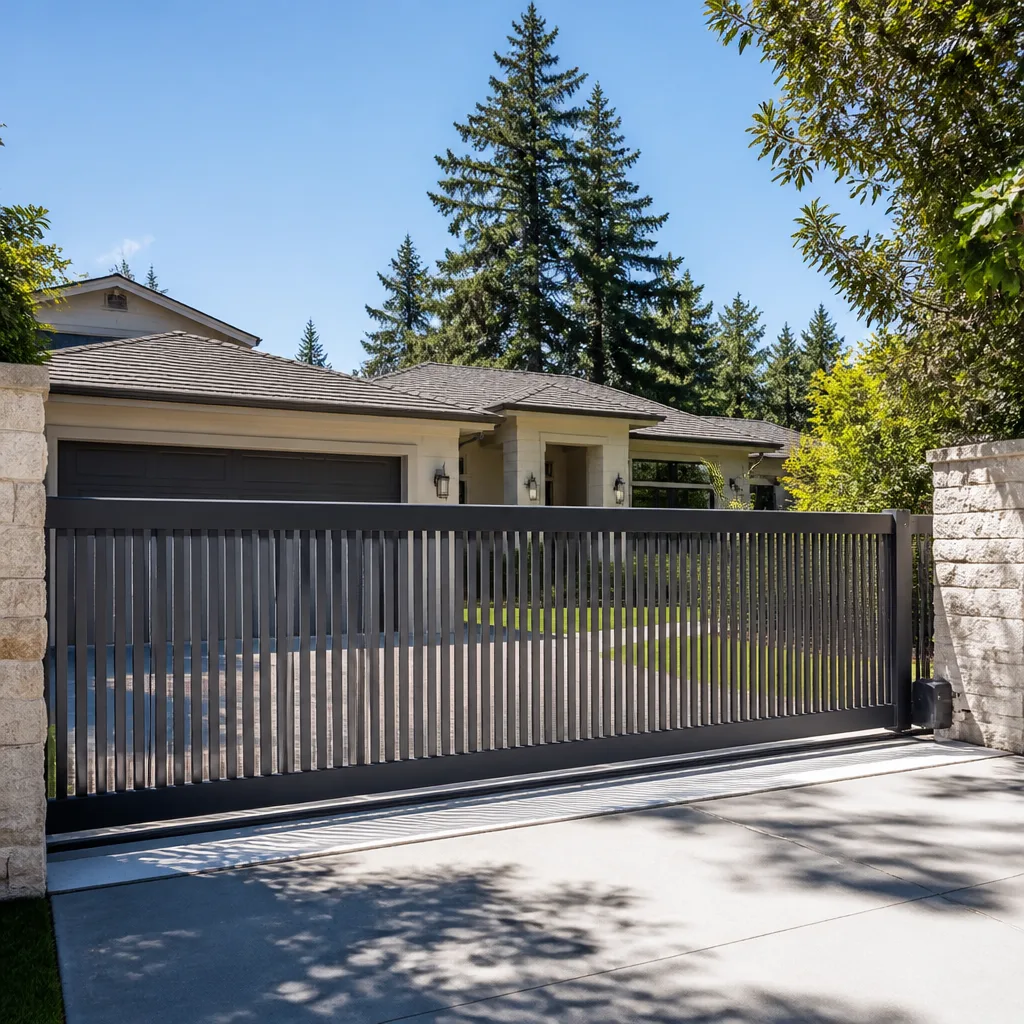 Sliding driveway gates
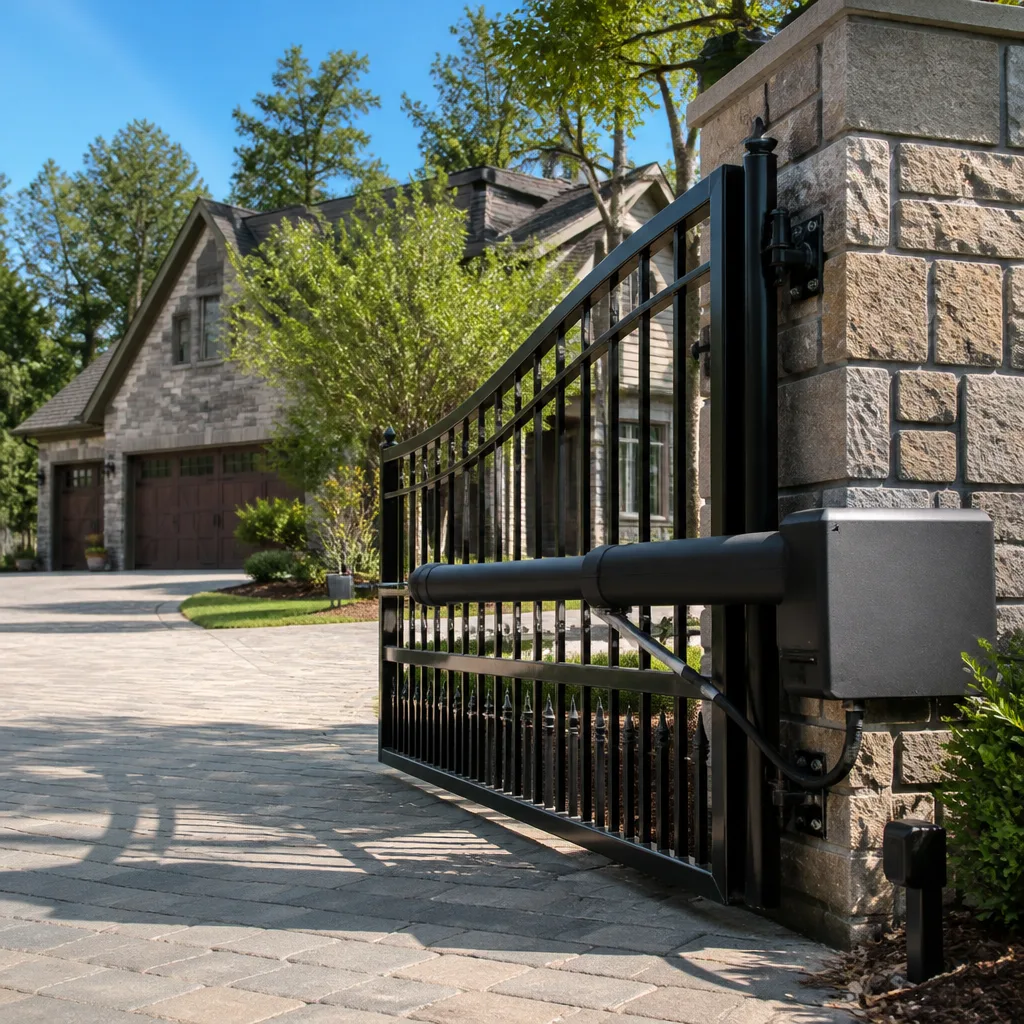 LiftMaster operators
Free on-site gate assessment - hinges, posts, and your LiftMaster or Nice gate operator checked before anything is quoted
The assessment is free and the quote is the invoice.
Get your free estimateDIY vs Professional Gate Repair: The San Jose Homeowner’s Decision Guide
You can legally replace your own gate’s hinges in California. You almost certainly shouldn’t touch the entrapment protection sensors. The distinction between those two facts is what this guide is actually about. Most San Jose homeowners who attempt DIY gate repair aren’t failing because they lack mechanical skill, but our Gate Repair services are here when the job exceeds your comfort level. They’re failing because they misidentify which system broke. A gate isn’t one machine. It’s three systems bolted together, and one of them carries liability risk that changes the math entirely. By the time you finish reading, you’ll know exactly which repairs you can safely tackle on a Saturday afternoon, which ones demand a multimeter and patience, and which ones you should hand to a pro before you turn the power back on.
Styles & brands we work with
Quick Answer
DIY gate repair in San Jose makes sense for mechanical fixes like hinge replacement, wheel realignment, and track clearing, which typically cost $15 to $80 in parts. Electrical work, including opener repair and circuit board diagnosis, is doable for experienced homeowners but often costs more in time and misdiagnosis than hiring a pro. Safety system work on UL 325 entrapment protection devices should always go to a licensed professional, because botching those components creates homeowner liability if someone gets injured. If your gate won’t open at all, the failure is electrical or safety-related roughly 70% of the time based on what we see across San Jose service calls.
Table of Contents
- The Three Systems: Why “Gate Repair” Is Actually Three Different Jobs
- DIY-Safe Repairs: The Mechanical Work You Can Genuinely Handle
- Electrical Repairs: Skilled DIY Territory With Real Costs
- UL 325 Safety Systems: Where Liability Changes Everything
- California Contractor Licensing and the DIY Exemption
- Real Numbers: What DIY Actually Saves You in San Jose
- The Failure Modes: What Goes Wrong When DIY Goes Wrong
- DIY Maintenance That Genuinely Reduces Professional Repair Costs
- Common Mistakes to Avoid
- When to Call a Professional
- Frequently Asked Questions
- The Bottom Line
The Three Systems: Why “Gate Repair” Is Actually Three Different Jobs
When a San Jose homeowner says “my gate is broken,” the actual problem falls into one of three categories. Mechanical failures involve physical components: hinges, wheels, tracks, chains, and the gate leaf itself. Electrical failures involve the opener motor, circuit boards, wiring, transformers, and controls. Safety system failures involve the UL 325 mandated entrapment protection devices: photo eyes, contact edges, and the force-sensing mechanisms built into modern openers.
Here’s the critical insight most DIY guides miss: each category carries a different level of personal risk and legal exposure. Replacing a hinge is a mechanical task with no regulatory framework. Replacing a limit switch on a Viking opener is electrical work that requires diagnostic skill but no permit. Bypassing or improperly adjusting a photo eye on a gate in San Jose is where things get serious, because you’re now modifying a federally regulated safety device designed to prevent child and pet injuries. That distinction, not your skill level, is what should drive your DIY decision.
In our experience across San Jose neighborhoods from Willow Glen to Almaden Valley, roughly 40% of service calls involve mechanical issues, 35% are electrical, and 25% are safety system problems. But here’s what shifts the math: safety system failures are the ones most often created by DIY work rather than discovered by it. A homeowner replaces an opener, sets the force sensitivity too high because the gate “keeps reversing,” and now has a 400-pound gate that won’t stop for a child. That’s not a repair. That’s a liability.
If you’re just getting oriented with what’s involved in gate repair in San Jose, understanding these three categories is the foundation for every decision that follows.
DIY-Safe Repairs: The Mechanical Work You Can Genuinely Handle
Mechanical gate repairs are the honest sweet spot for San Jose homeowners who want to save money without taking on real risk. These are jobs where the parts are cheap, the tools are basic, and the worst case scenario is that your gate still doesn’t work properly and you call a pro anyway. You haven’t made anything more dangerous.
Here’s a realistic list of mechanical repairs that are genuinely DIY-appropriate:
- Hinge replacement: Gate hinges wear out from the constant load of a 300 to 600 pound gate leaf. Replacement hinges cost $15 to $40 per hinge at San Jose hardware stores. You’ll need a socket set, a level, and roughly two hours for a standard single-leaf gate.
- Wheel and roller replacement: Slide gates ride on wheels that flatten over time, especially on San Jose’s concrete hardscape. Replacement wheels run $20 to $50 each. The job requires lifting the gate slightly, which a floor jack or a friend can handle.
- Track clearing and realignment: Debris in the track, a shifted concrete pad from soil movement, or a bent track section are common in San Jose’s clay-heavy soil areas like Evergreen and Berryessa. Realignment is often just loosening bolts, repositioning, and retightening.
- Lubrication and tightening: This is maintenance more than repair, but it fixes a surprising number of “broken” gates. A $12 can of white lithium grease and a socket wrench will quiet a creaking Viking or Linear gate and fix minor binding.
- Chain and sprocket replacement on mechanical gates: If you have an older chain-drive gate, the chain stretches and the sprockets wear. Parts run $30 to $80, and the job is comparable to replacing a bicycle chain, just heavier.
The honest caveat: even mechanical work has edge cases. A gate leaf that has sagged 3 inches on its hinges might need hinge replacement, or it might need the post itself replaced because the original installer set it in concrete with insufficient depth. Posts repair is structural work, not a Saturday project. If you’re unsure which situation you have, a professional assessment is worth more than the parts you’d waste guessing.
Electrical Repairs: Skilled DIY Territory With Real Costs
Electrical gate repair sits in the middle of the DIY spectrum. You don’t need a contractor’s license in California to work on your own low-voltage gate opener, and the components aren’t designed to be dangerous to handle the way line-voltage home wiring is. Opener systems run on 12V or 24V DC, which is comparable to working on a car’s electrical system. If you can install a car stereo or troubleshoot a landscape lighting transformer, you have the baseline skills.
Here’s what a typical electrical diagnosis actually looks like:
- Check the power source: Is the outlet or circuit breaker feeding the opener actually live? A surprising number of “opener failures” in San Jose are tripped GFCI outlets, especially after rain when moisture gets into outdoor boxes.
- Test the transformer: The transformer converts 120V AC to low-voltage DC. If it’s dead, the opener won’t respond at all. Replacement transformers run $40 to $80 depending on brand.
- Inspect the control board: Circuit boards fail from age, moisture, ants (a significant issue in San Jose’s warm climate), and power surges. New boards for Gate openers like DoorKing or Linear run $150 to $400 depending on the model.
- Test the limit switches: Limit switches are the small sensors that tell the gate when to stop. A failed limit switch is why your gate opens halfway and quits, or slams the post, or keeps running after it’s fully open.
- Check the remote and receiver: If the gate works from the keypad but not the remote, you have a receiver issue. Ghost Controls and Mighty Mule receivers are modular and replaceable for $30 to $80.
Here’s the honest problem with DIY electrical repair: diagnosis is most of the work. The part you need is rarely the part you bought. Without experience, you might replace a $200 control board on a Linear opener and discover the $45 transformer was the culprit. Professionals misdiagnose sometimes too, which is why gate opener repair in San Jose is best done by someone who’s seen the same failure on the same brand fifty times before. The brand-specific knowledge matters more than the tools.
UL 325 Safety Systems: Where Liability Changes Everything
UL 325 is the Underwriters Laboratories standard that governs automatic gate entrapment protection. It became mandatory nationwide in 2001 after a series of child fatalities involving automatic gates. The standard requires every automatic gate to detect an obstruction and reverse or stop. That detection happens through photo eyes, contact edges, or inherent force-sensing entrapment protection in the opener itself.
Here’s the part most DIY guides won’t tell you: when you adjust, bypass, or improperly install these safety components, you’re not just making a repair mistake. You’re creating a condition that can injure someone, and you’re personally liable for that injury. If a child is entrapped by a gate you modified and the investigation shows you disabled or misadjusted a photo eye, you’re facing a civil liability scenario that no homeowner’s insurance policy will cheerfully cover.
What goes wrong with DIY safety system work:
- Force sensitivity set too high: The opener doesn’t reverse when it hits an obstacle. This is the most dangerous mistake and the most common one we see in San Jose. Homeowners get frustrated by a gate that “reverses for no reason” and crank up the force setting to “fix” it. That reversing was the safety system working.
- Photo eyes misaligned or bypassed: Photo eyes are the small sensors on either side of the gate path. If they’re not perfectly aligned, the gate won’t close or won’t reverse. Some DIYers bypass them entirely with a jumper wire. That’s converting a safety device into a decoration.
- Contact edges disabled: Contact edges are the rubber strips on the gate edge that reverse the gate when they compress. If they’re replaced incorrectly or disconnected because they were “intermittent,” the gate has no physical backup for the photo eyes.
- Wrong replacement parts: Not every photo eye works with every opener. Installing a generic sensor on a Viking or DoorKing opener can create a system that passes a visual test but fails to communicate properly with the control board.
This is the category where the DIY-versus-professional question answers itself. Electric gate repair in San Jose that involves UL 325 components should be handled by someone who knows the standard and carries liability insurance for the work. If your gate’s safety system is malfunctioning, the gate is not safe to operate, period.
California Contractor Licensing and the DIY Exemption
California’s Contractors State License Board (CSLB) requires a C-61/D-28 contractor license for gate installation and repair work performed for compensation. The license covers automatic gates, manual gates, gate openers, and access control systems. Anyone in San Jose charging money for gate work without this license is operating illegally, and any warranty they give you is worth precisely what the unlicensed handyman’s word is worth.
The DIY exemption is straightforward and broad: you can work on your own property without a contractor’s license, without permits, and without inspections for most gate work. California Business and Professions Code Section 7048 exempts owner-occupied residential work from contractor licensing requirements entirely. You can replace your own opener, rewire your own keypad, and adjust your own safety sensors as a homeowner.
Here’s where the exemption ends in practice:
- When you sell the home: San Jose real estate disclosures require you to identify unpermitted work. If your DIY gate installation doesn’t meet UL 325 standards and the buyer’s inspector catches it, you’re paying for a licensed repair before closing.
- When someone is injured: If you did the work and someone gets hurt, your permitting status matters less than the fact that you performed the safety system installation without professional competence. The standard in civil court is not “did you mean well” – it’s “did you meet the industry standard of care.”
- When insurance gets involved: Homeowners insurance covers sudden and accidental damage, not defective workmanship. If your DIY opener installation causes a fire or electrical damage, the claim can be denied on the grounds that the damage resulted from unqualified work.
- When you’re working on someone else’s property: Helping a neighbor or doing gate work on a rental property you own crosses into territory where the CSLB exemption no longer protects you. A landlord doing gate work on a rental technically falls under a gray area, and the CSLB has pursued complaints for exactly that scenario.
None of this means you shouldn’t do DIY mechanical work on your own gate. It means you should understand where the legal protections end, because they end at exactly the same point where the safety system work begins.
Real Numbers: What DIY Actually Saves You in San Jose
Let’s put actual numbers on the DIY-versus-professional decision. These reflect what San Jose homeowners realistically spend on parts at local retailers, and what professional services typically charge in this market. If you’re coming from our Calder Gate Repair San Jose home page, you’ve already seen our pricing philosophy: written quotes before work starts, no surprises on the invoice. That’s the benchmark.
Common DIY Repair: Hinge Replacement (Single Gate)
- Parts: Two heavy-duty hinges, $45 total
- Tools: You own them already, or $40 for a basic socket set if you don’t
- Time: 2 hours including cleanup
- Professional cost: $180 to $350 depending on gate weight and access
- Real DIY savings: $135 to $305, minus the value of your 2 hours
Common DIY Repair: Slide Gate Wheel Replacement
- Parts: Wheels and axle bolts, $60 to $100
- Tools: Jack, wrenches, PB Blaster, $0 to $60 if you own them
- Time: 3 hours including rust mitigation
- Professional cost: $250 to $450
- Real DIY savings: $190 to $390
Electrical Diagnosis and Repair: Opener Control Board
- Parts: New board for DoorKing or Linear, $150 to $400 depending on model
- Diagnostic tools: Multimeter, $25 to $75
- Time: 2 to 5 hours of testing and elimination, if you know what you’re looking for
- Risk: You buy the wrong board, or misdiagnose, and you’re out the parts cost
- Professional cost: $300 to $650 including the board and labor
- Real DIY savings: $150 to $250, IF you diagnose correctly the first time
Full Opener Replacement
- Parts: Complete opener kit from a big box store, $400 to $900
- Permits and compliance: None required for your own home, but UL 325 compliance is mandatory regardless
- Time: One full day if everything goes well
- Professional cost: $900 to $1,800 installed and configured, including safety system setup and testing
- Real DIY savings: $500 to $900, with the caveat that you’re responsible for correct safety system configuration
The pattern here should be clear. Mechanical work saves you real money. Electrical work saves you less than you’d think once you account for diagnostic time and misdiagnosis risk. Opener replacement saves you the most in raw dollars, but carries the highest liability exposure because you’re now responsible for proper UL 325 setup on a new installation, not just a repair.
The Failure Modes: What Goes Wrong When DIY Goes Wrong
Most DIY gate repair discussions treat the downside in the abstract: “you might make it worse.” Here’s what “worse” specifically looks like in San Jose, based on what we repair after DIY attempts go sideways.
Voided Manufacturer Warranties
LiftMaster, FAAC, BFT, DoorKing, and most other major opener manufacturers include warranty language that requires installation by a qualified technician for full coverage. If a DIY installation damages a component, the manufacturer warranty is void. That new Ghost Controls opener you installed yourself has a 24-month warranty, but only against manufacturing defects. A miswired control board is not a manufacturing defect.
Insurance Claim Denials
Homeowners insurance policies cover sudden damage from covered perils: fire, wind, lightning, that kind of thing. They contain exclusions for defective workmanship and for damage resulting from unlicensed or unqualified repairs. If your DIY opener catches fire and the insurance investigator determines the cause was improper wiring, your claim can be denied even though fire is a covered peril. That’s a $5,000 to $20,000 lesson depending on what burned.
The Injuries That Entrapment Protection Exists to Prevent
UL 325 exists because children die in automatic gate entrapments. Between 2001 and 2020, the U.S. Consumer Product Safety Commission documented over 40 fatal automatic gate accidents, the majority involving children under 9. The typical scenario: a gate’s force sensitivity is set too high or the photo eyes are misaligned, the gate closes on a child, and the opener doesn’t reverse because the safety system failed. These are not freak accidents. They are the predictable result of exactly the kind of safety system mistakes that DIY work introduces. In San Jose, with its high density of walled and gated homes in neighborhoods from Campbell to the foothills of Alum Rock, thousands of automatic gates operate daily around children and pets.
The Compounding Cost Spiral
Here’s the failure mode we see most often: a homeowner starts with a $50 hinge replacement, but the gate is 600 pounds and they don’t have a jack, so it slips and bends the other hinge. Now they’re at $100 in parts. They reassemble it slightly out of alignment, and now the opener works harder, which wears out the limit switch prematurely. That’s $80. They replace the limit switch themselves but misalign it, and now the gate slams the post, which shears the new hinge. They’ve now spent $250 and a full weekend, and the gate needs a professional to correct the cascade. A $250 professional repair in week one would have been cheaper.
DIY Maintenance That Genuinely Reduces Professional Repair Costs
The best DIY gate work isn’t repair at all. It’s the maintenance and diagnosis that prevents failure, catches problems early, and gives a professional technician a precise description of what’s wrong so they can fix it faster. For a structured approach, see our Gate Repair Maintenance Checklist for San Jose Homeowners. Every hour you spend on maintenance is an hour of professional labor you won’t pay for later.
Quarterly Maintenance Checklist (15 Minutes)
- Lubricate hinges, wheels, and chains: White lithium grease on hinges and wheels, proper chain lube on drive chains. Do this every 3 months. It’s the single highest-ROI maintenance task, and it costs about $3 per application.
- Clear the track and photo eye lenses: San Jose’s dry season puts dust in the air, and it settles on photo eye lenses. A dry microfiber cloth clears them. Leaves and dirt accumulate in slide gate tracks. A 2-minute clear prevents most binding issues.
- Test the reversing function: Place a 2×4 or a traffic cone in the gate path and close the gate. It should reverse on contact. Do this monthly if children or pets are regularly on the property. This test takes 30 seconds and verifies your entrapment protection is working.
- Inspect for loose hardware: Gate hardware vibrates loose over time. A 10-minute pass with a socket wrench checking hinge bolts, wheel axles, and opener mounting brackets catches issues before they become failures.
- Listen for changes: A gate that’s getting louder is trying to tell you something. Binding, grinding, or a change in motor pitch means something is wearing. Note it, and if it persists or worsens, call before it becomes a repair call.
Professional-Grade Diagnostics You Can Do Yourself
When something does fail, your diagnostic work before calling a pro can shave $100 or more off the service call. Most gate opener repairs in San Jose start with the same questions the homeowner could answer before picking up the phone:
- Does the gate work from every input? Test the wall button, the keypad, the remote, and the app separately. If one input works and another doesn’t, you’ve localized the problem to that input’s wiring or receiver, not the opener.
- Is power reaching the opener? Check the breaker, the GFCI outlet, and the transformer’s indicator light if it has one. Twenty percent of “opener failures” we see in San Jose are tripped outlets, especially on exterior circuits after rain.
- Does the opener hum but not move? That’s a capacitor, a seized gear, or a mechanical bind. Note it. It helps the technician order parts before they arrive.
- Does the gate open an inch and stop? That’s a limit switch or obstruction sensor issue, not a dead opener. Write down exactly how far it moves before stopping.
This kind of diagnosis is where DIY genuinely pays off, because it reduces the time a professional spends on site and gives them the information to bring the right parts on the first trip.
Common Mistakes to Avoid
- Adjusting force sensitivity to “fix” a reversing gate: If your gate keeps reversing, the photo eyes are misaligned or there’s an obstruction. Force sensitivity is a safety backup, not a convenience setting. Crank it up and you’ve disabled a safety system designed to prevent injury.
- Replacing expensive components before testing cheap ones: We regularly see homeowners who bought a $300 control board when the actual problem was a $40 transformer or a tripped GFCI. Test power first, always.
- Buying the wrong replacement part based on brand name alone: “Linear opener parts” is not one single category. Linear has made dozens of opener models with incompatible boards, arms, and sensors. Match the exact model number, not just the brand.
- Using WD-40 on gate hinges and chains: WD-40 is a solvent, not a lubricant. It cleans but doesn’t provide lasting lubrication. Use white lithium grease on mechanical components and proper chain lube on drive chains.
- Ignoring a gate that’s “acting weird” until it fails: Gates rarely fail suddenly. They grind, slow down, hesitate, and get louder for weeks or months first. Every day you ignore that noise is another day of wear on components that would have been cheap to fix early.
- Attempting opener replacement without checking UL 325 compliance on the new unit: Not all openers sold to consumers meet current entrapment protection standards, especially older stock sold at discount. Verify that the opener includes a monitored photo eye and contact edge compatibility before installing.
- Working on a gate without securing it: A 500 pound sliding gate falling off its track while you’re working on the wheels can crush whatever’s under it. Block the gate, chock the wheels, or have help before removing any component that supports the gate’s weight.
When to Call a Professional
Call a professional when the repair involves any UL 325 safety component: photo eyes, contact edges, force sensitivity settings, or the entrapment protection logic in the control board. Call when the gate has failed in a way that leaves your property unsecured, because a gate that won’t close is a security problem, not just an inconvenience. Call when electrical diagnosis has consumed more than two hours without a confirmed root cause, because you’re spending your time buying parts sequentially. Call when the gate is heavy enough that you can’t safely manage it alone, which is most double-driveway gates and anything over 400 pounds. Call when a warranty is in play, because DIY work will void it. Calder Gate Repair San Jose offers free estimates in San Jose, and every repair includes a written price before work starts, so you know your cost before deciding. Call (669) 666-6859 for a free estimate.
Frequently Asked Questions
No. California’s homeowner exemption allows you to perform gate repair and even full replacement on your own owner-occupied property without permits or a contractor’s license. The exemption does not exempt you from the obligation to meet UL 325 safety standards, and your DIY work can be scrutinized during a home sale or after an injury.
Most gate opener repairs in San Jose run $250 to $500 before major components, with control board replacements pushing toward $600 and full opener replacements running $900 to $1,800. For detailed pricing context, see our Gate Repair Cost Breakdown: The San Jose Homeowner’s Reference for 2026. The cost depends heavily on the opener brand, the specific failure, and whether the safety system components need replacement or recalibration. Call (669) 666-6859 for an exact quote, estimates are free.
Yes, you can legally adjust your own photo eyes and contact edges as a homeowner. But if your adjustment is incorrect and someone is injured, you bear the liability. The question isn’t legal permission. It’s whether you understand the UL 325 standard well enough to verify that your adjustment actually restores proper entrapment protection.
Reputable San Jose gate repair companies work across the major brands that dominate the residential market: LiftMaster, FAAC, BFT, Linear, Viking, Ghost Controls, DoorKing, Elite, and Mighty Mule. Brand familiarity matters because each manufacturer uses different control board logic, diagnostic indicators, and programming procedures.
Most gate opener repairs take 1 to 3 hours on site. Simple fixes like limit switch replacement or transformer swaps take under an hour. Control board replacement including programming takes 1 to 2 hours. Full opener replacement including safety system setup takes a half day to a full day depending on access and mounting conditions.
You’ll save $500 to $900 on a full opener replacement doing it yourself, assuming your installation goes smoothly and you don’t damage the new unit through improper wiring. The tradeoff is that you’re now responsible for UL 325 compliance on a new installation, your manufacturer warranty may be voided by DIY installation, and misdiagnosis on electrical work can easily eat the savings in wasted parts.
The Bottom Line
DIY gate repair in San Jose is not a skill test. It’s a classification test. Identify whether the failure is mechanical, electrical, or safety-critical, and you already know the answer. Mechanical work is fair game: hinges, wheels, tracks, and chains are genuine money savers with minimal risk. Electrical work is feasible for experienced DIYers but the savings are smaller than they look once diagnostic time and misdiagnosis add up. Safety system work is where DIY stops making sense, because the stakes stop being about your gate and start being about your liability. Do the maintenance, do the diagnosis, and be honest with yourself about what category you’re actually in. Explore our more guides & resources to keep your gate running smoothly. For everything else, Calder Gate Repair San Jose provides free estimates and a written price before any work begins. Call (669) 666-6859 when you’re ready to stop guessing.
Written by Nico Alvarez, Owner at Calder Gate Repair San Jose, serving San Jose since 2009.
See the difference
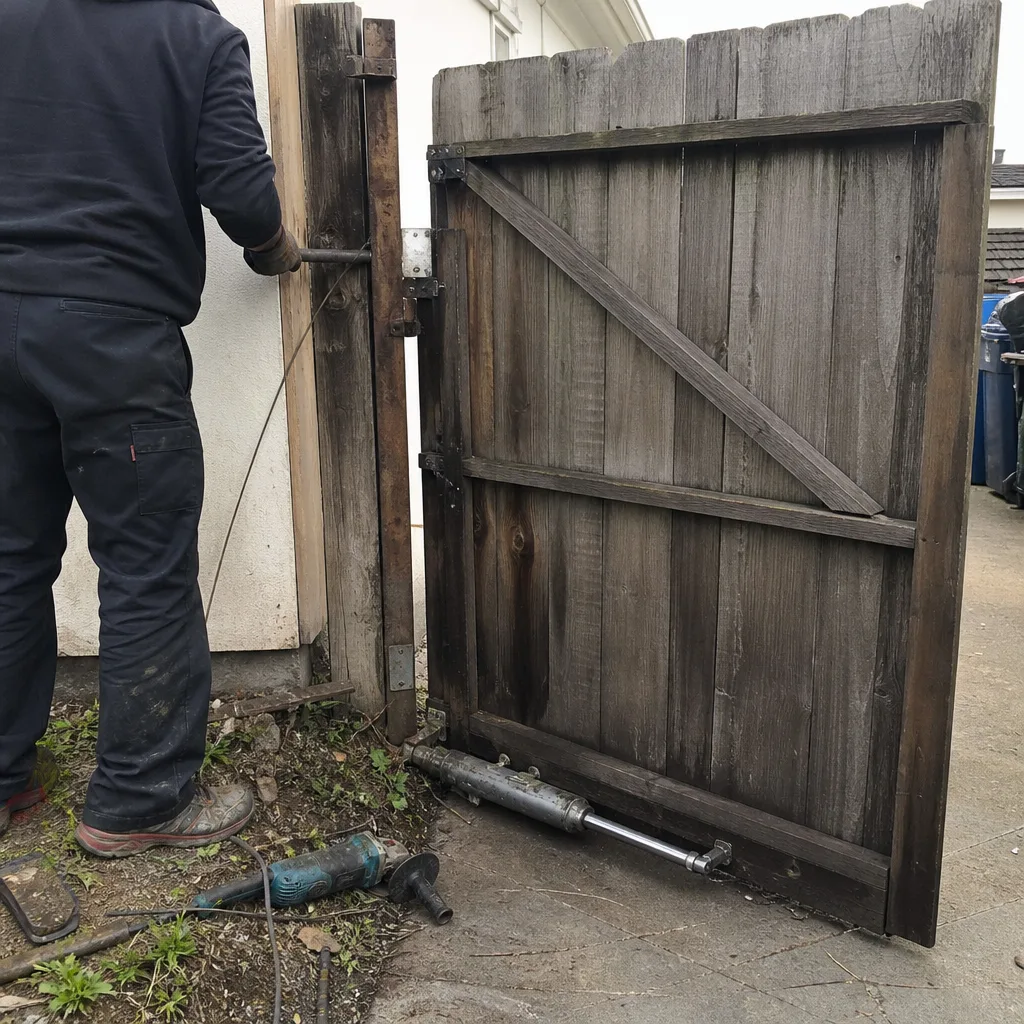 Before
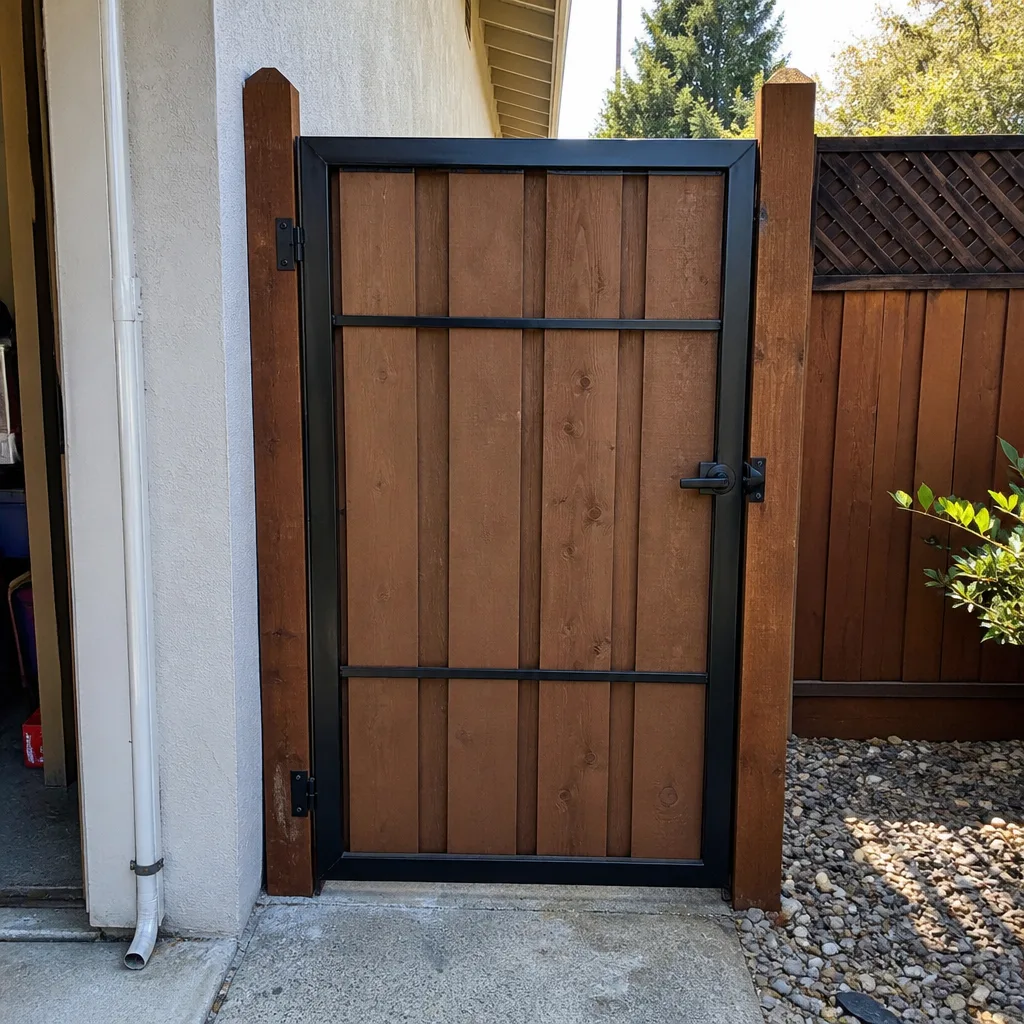 After
After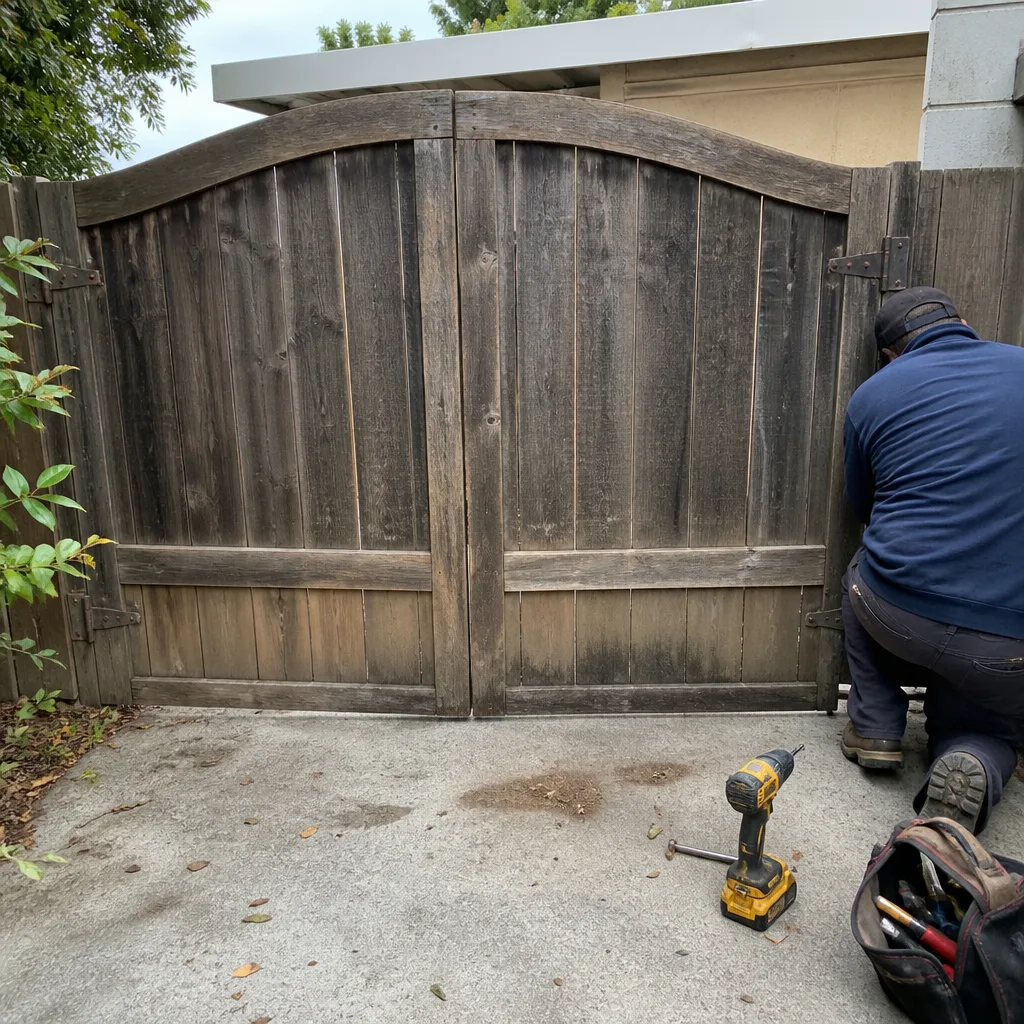 Before
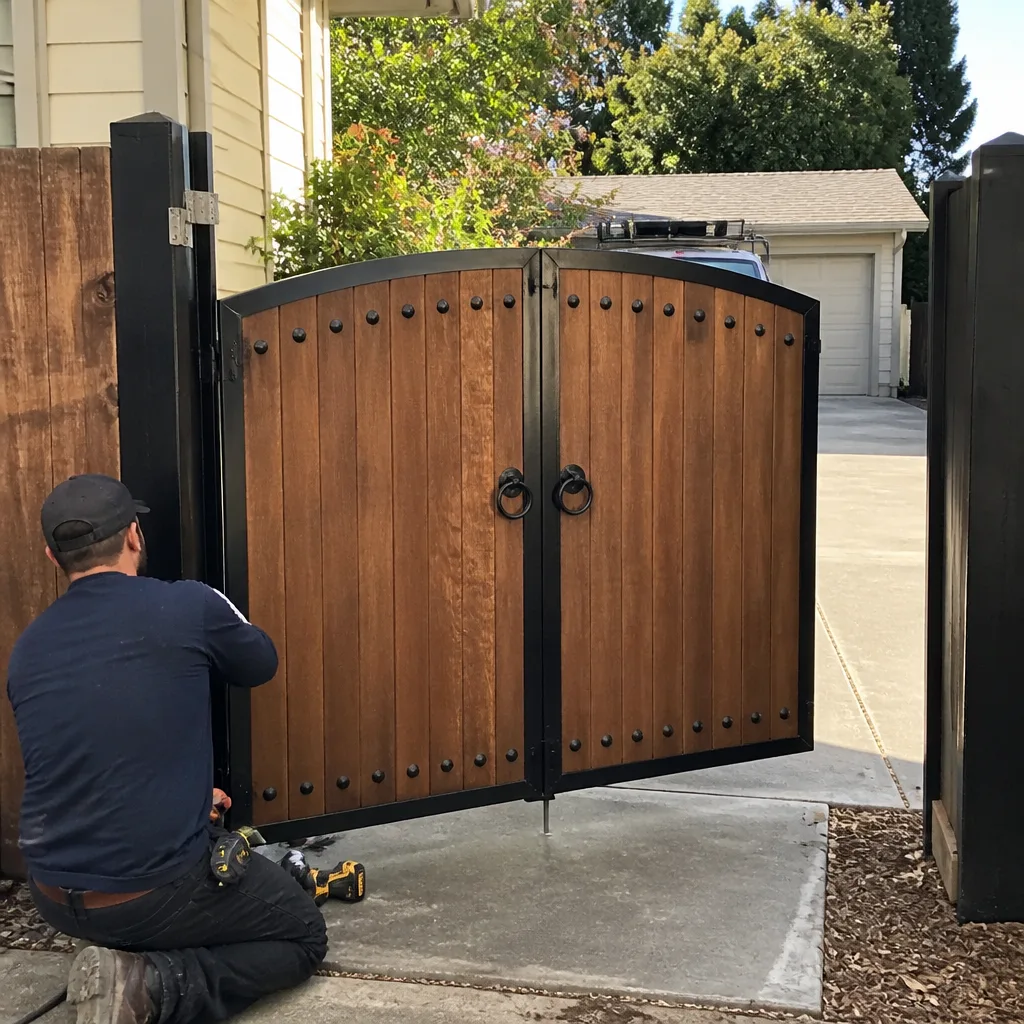 After
After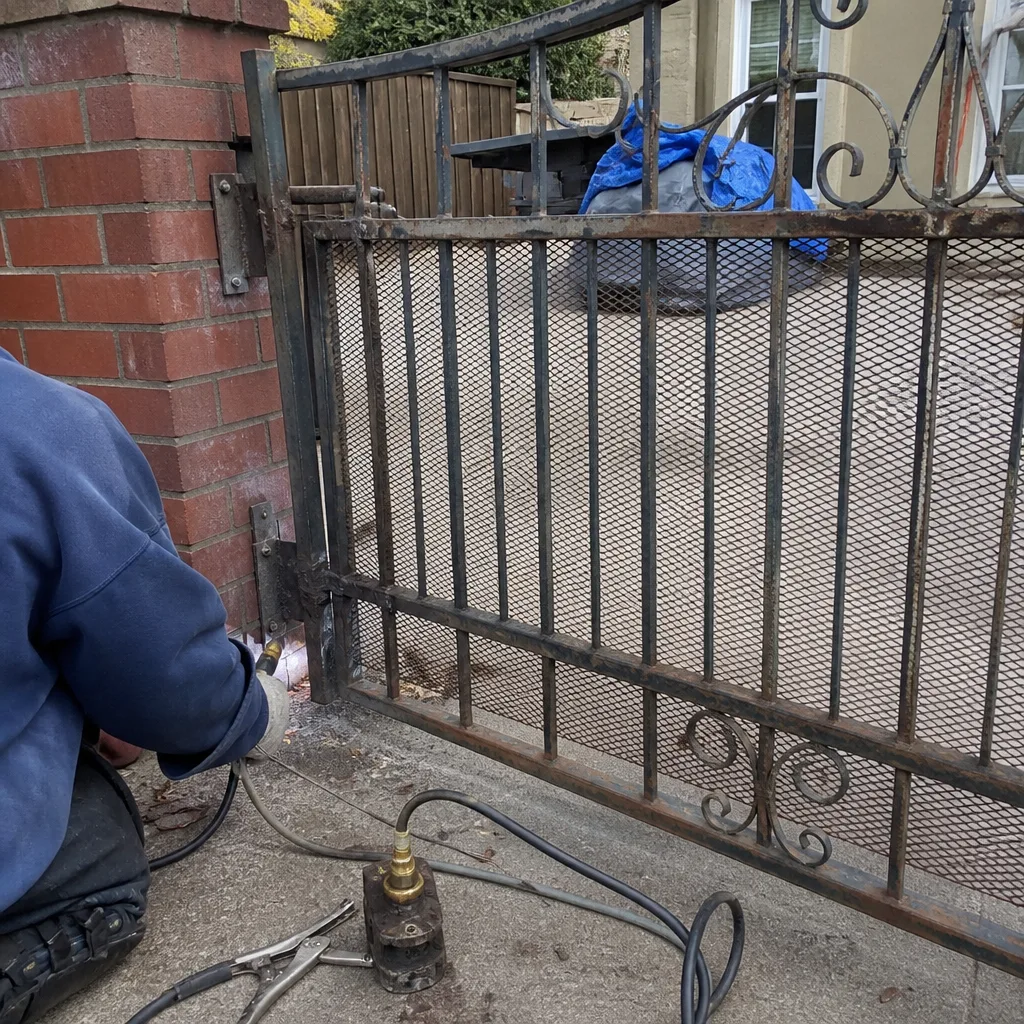 Before
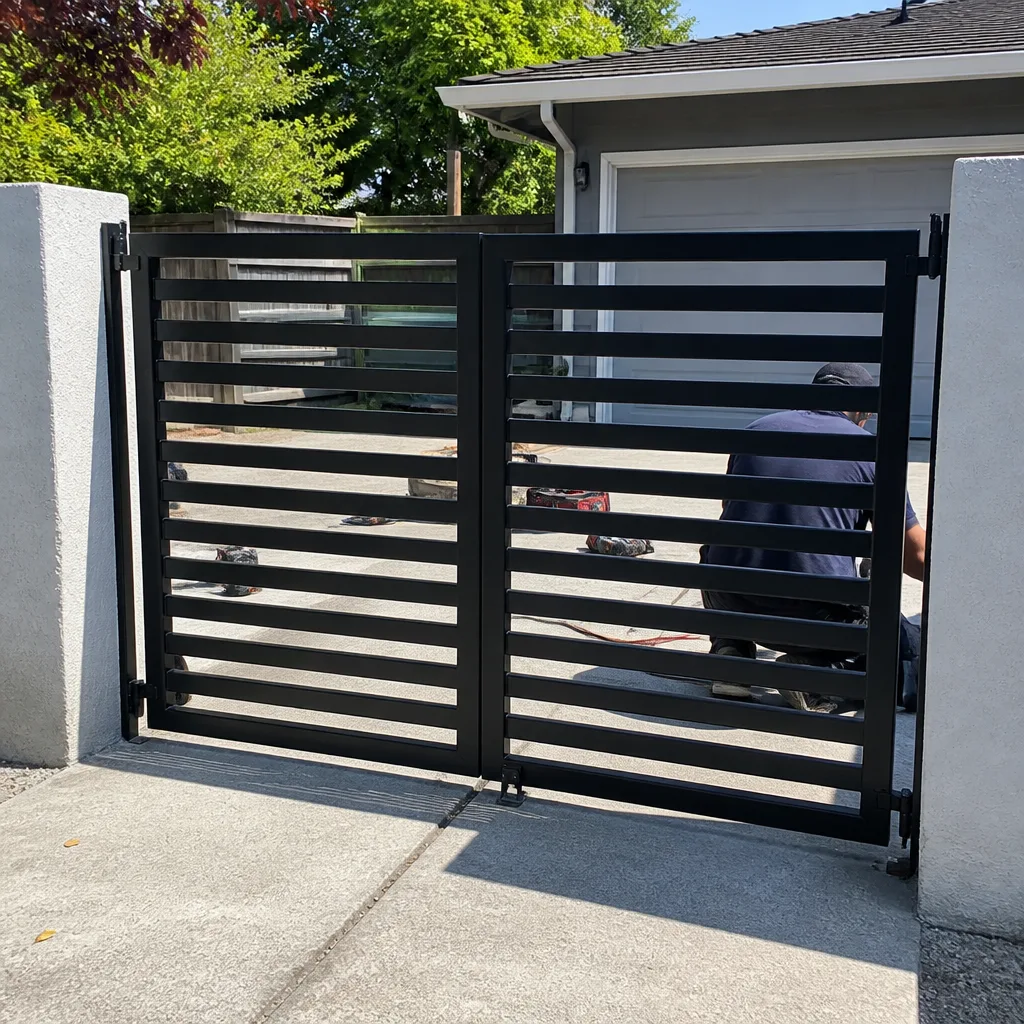 After
After